
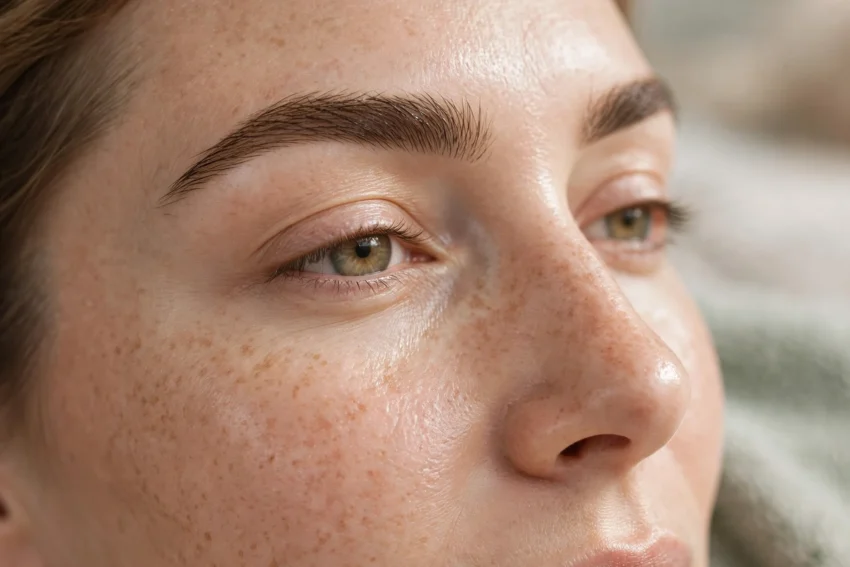
Microblading aftercare means keeping your brows dry, clean and untouched while the skin heals. For the first week, avoid water, sweat, makeup and sun on the brow area, and let any flaking fall away on its own. Most brows settle in about four to six weeks, and a touch-up appointment then fixes patchy or faded strokes.
Microblading creates fine, hair-like strokes in the top layer of the skin. The pigment sits close to the surface, so the first few weeks decide how even the final result looks. Good aftercare protects the pigment while the skin repairs itself. Poor aftercare can pull pigment out early, cause patchy healing or raise the risk of infection.
Every technician gives slightly different instructions, and products and techniques vary. Always follow the aftercare sheet your own technician gave you first. Use this guide as a general explanation of what to expect and why each rule matters. If your technician told you something different, their advice wins, because they know the pigment and technique used on your skin.
If you are still weighing up treatments, our guide to microblading vs eyebrow tint explains how the two options differ in look, cost and how long they last.
What happens right after microblading
Your brows will look darker and bolder than the final result. This is normal. The pigment looks strong while it sits on the surface of freshly worked skin. The colour softens by a noticeable amount as the skin heals, often by around a third, though the exact change varies from person to person.
Mild redness and slight swelling around the brow area are common in the first few hours. The skin may feel tender or tight, much like a light graze. Some people notice a small amount of clear fluid on the brows. Your technician will usually blot this away and may apply a thin layer of aftercare balm before you leave.
Before you leave the salon, check three things. First, ask how long to wait before getting the brows wet. Second, ask whether to apply any balm, and how often. Third, ask when your touch-up appointment should happen. Write the answers down or keep the aftercare sheet somewhere you will see it each morning.
On the way home, avoid touching your brows with your hands. Hands carry bacteria, and freshly microbladed skin is an open surface until the first layer of healing forms. If you need to blot fluid or balm, use a clean cotton pad or a clean tissue, and use a light dabbing motion only.
Healing stages day by day
Healing follows a pattern, but the timing varies with skin type, age and how your body repairs itself. Oily skin often heals a little differently from dry skin, and pigment may fade faster on oilier skin. The stages below describe what most people notice.
| Stage | What you may notice | What to do |
|---|---|---|
| Days 1 to 2 | Brows look dark and bold. Mild redness, tenderness and slight swelling. | Keep brows dry. Blot any fluid gently. Apply balm only if your technician advised it. |
| Days 3 to 4 | Skin starts to feel tight and dry. The surface may look shiny or slightly raised. | Do not scratch or rub. Keep washing water away from the brow area. |
| Days 5 to 7 | Light flaking or small scabs form. Colour may look patchy underneath. | Let flakes fall away on their own. Do not pick or peel them. |
| Days 7 to 10 | Most flaking finishes. Brows may look lighter or greyish for a short time. | Resume gentle face washing. Still avoid exfoliants and strong skincare on the brows. |
| Weeks 2 to 4 | Colour returns as the skin settles. The shape looks softer and more natural. | Follow normal skincare, but keep harsh treatments away from the brows. |
| Weeks 4 to 6 | Brows are mostly settled. Any uneven patches are now clear to see. | Attend your touch-up appointment to even out the result. |
The light or greyish stage around week two worries many people. It happens because a thin layer of new skin forms over the pigment and dulls it for a while. The colour usually comes back as that layer settles. Wait until after your touch-up before judging the final result.
Healing is not always even across both brows. One brow may flake sooner than the other, or one side may look lighter. This is common and does not mean the treatment failed. Your technician checks both brows at the touch-up and balances them.
The first week: what to do and what to avoid
The first week matters most. The skin is still open at first, then forms a thin protective layer. Anything that wets, rubs or heats the area can disturb the pigment before it settles.
| Do | Avoid |
|---|---|
| Keep the brow area dry for the time your technician advised. | Do not get the brows wet in the shower, bath or rain. |
| Blot gently with a clean cotton pad if fluid appears. | Do not touch, scratch or rub the brows. |
| Apply aftercare balm thinly, only if advised, with clean hands. | Do not apply makeup, creams or serums on the brows. |
| Sleep on your back if you can, to avoid rubbing the brows on the pillow. | Do not sleep face down on the brow area. |
| Wear a hat or stay in shade outdoors. | Do not use sunbeds or sit in strong sun. |
| Take a break from the gym and saunas for the first week. | Do not swim, use a steam room or take very hot showers. |
Sweat is a common problem in the first week. Exercise, hot weather and saunas all make the brow area damp, and sweat can push pigment out of the fresh strokes. Plan your appointment for a week when you can skip intense workouts. Light walking is usually fine, but check with your technician if you are unsure.
Sun exposure fades pigment, and fresh skin is more sensitive to UV light. A wide brim hat protects the brows without touching them. Sunscreen should not go on the brow area until the skin has fully healed, so shade and hats are the safer option in the early days.
Skincare needs a pause too. Keep cleansers, toners, exfoliants, retinol and vitamin C products away from the brows until healing is complete. These products can irritate fresh skin and pull pigment out. Wash around the brow area rather than over it, and use a plain, gentle cleanser on the rest of your face.
Washing your face and brows
Washing is where most aftercare mistakes happen. Water itself is the problem in the first days, not dirt. Your technician will tell you how many days to keep the brows dry. Many advise around seven to ten days, but some techniques use a short wet healing method instead. Follow your own aftercare sheet.
For the dry period, wash your face in sections. Use a damp cloth or cotton pads to clean your cheeks, chin and forehead, and steer clear of the brow line. In the shower, tilt your head back so water runs away from your face, or wash your hair at the sink with your head tilted back.
Once your technician says washing is safe, start gently. Use lukewarm water and a mild cleanser. Pat the brows dry with a clean towel instead of rubbing. Do not use a flannel or a cleansing brush on the brow area while the skin is still settling.
Makeup removal needs care as well. Waterproof makeup and the removers used to take it off can be harsh on healing skin. Our guide on how to remove waterproof makeup explains gentler methods, but keep all makeup and remover away from the brows until healing is complete.
After the first two weeks, you can return to a normal washing routine. Keep scrubbing products and chemical exfoliants away from the brows for a little longer, and avoid facial treatments such as peels or microdermabrasion on the brow area unless your technician says it is safe.
Scabbing, flaking and colour fading: what is normal
Some flaking is a normal part of healing. As the skin repairs itself, the top layer dries and sheds. The flakes are usually small and light. They may carry a little pigment with them, which is why the brows can look patchy during this stage.
Let every flake fall away on its own. Picking or peeling a scab can pull pigment out with it and leave a gap in the strokes. It can also open the skin again and raise the risk of infection or scarring. If a flake catches on clothing or bedding, leave it alone and let it come away naturally.
Colour fading in the first month is also normal. The brows often look bold at first, then lighter, then settle somewhere in between. Some strokes fade more than others. This is why a touch-up is part of the treatment rather than an optional extra. The first session lays the shape and most of the colour, and the touch-up fills the gaps.
A few signs are not normal and need attention. These include redness that spreads or gets worse after the first two days, swelling that grows instead of easing, yellow crusts, pus, heat in the skin, or pain that increases rather than fades. A small amount of tenderness is expected, but pain that gets worse is not. Contact your technician promptly if you notice any of these signs, and seek medical advice if symptoms worsen or you develop a fever.
Skin type affects fading. Oily skin tends to push pigment out faster, so brows on oilier skin may fade sooner and need touch-ups more often. Dry skin usually holds pigment longer. Your technician should have discussed your skin type with you before the appointment and set your expectations for how long the result may last.
Touch-ups: when and why
A touch-up is a follow-up appointment, usually four to six weeks after the first session. By then the skin has healed and the true result is visible. The technician checks which strokes held well and which faded, then adds pigment where it is needed.
The touch-up is not a sign that something went wrong. Most microblading treatments are designed as a two-step process. The first session creates the shape and the base colour. The second session perfects it. Skipping the touch-up often leaves the brows patchier and shorter lived.
At the appointment, expect a shorter session than the first one. The technician will look at the healed brows in natural light, ask how healing went, and then work on the faded or uneven areas. Healing after a touch-up is usually quicker and milder than after the first session, but the same aftercare rules still apply.
After the touch-up, most people need no further work for a year or more. Annual colour refresh appointments keep the brows looking defined. How often you need one depends on your skin type, sun exposure and how quickly your skin sheds pigment. Technicians assess retention at each visit and advise on timing, and professional standards for lash and brow work are set out in guides such as our professional guide for lash technicians, which covers patch testing and safe practice across brow and lash treatments.
Book the touch-up before you leave your first appointment if you can. Good technicians book up weeks ahead, and a gap longer than eight weeks can mean the brows need more work at the second visit. If you cannot attend within six weeks, tell your technician so they can advise on the best timing.
When to contact your technician
Contact your technician if anything about healing worries you. It is better to ask early than to wait and hope a problem settles. Technicians would rather hear about a concern on day three than see a complication on day fourteen.
- Redness, swelling or pain that gets worse after the first two days.
- Yellow crusts, discharge or a smell from the brow area.
- A rash, itching or swelling that spreads beyond the brows.
- A fever or feeling unwell after the appointment.
- Heavy bleeding or a cut that does not close.
- Colour loss in large patches, or strokes that vanish within the first week.
For signs of infection, seek medical advice promptly as well as telling your technician. Infections in the brow area are uncommon when aftercare is followed, but they need quick treatment when they happen. Do not try to treat a suspected infection with home remedies or leftover antibiotic creams.
Also get in touch if the shape looks wrong once healing is complete. Small unevenness is fixed at the touch-up. Larger shape problems may need a longer wait before correction, because the skin must heal fully first. Your technician can explain the options and the timing.
Keep a note of how healing went, with photos if you are comfortable taking them. Photos help your technician see the stages you went through and plan the touch-up. They also help you notice changes that are easy to miss day to day.
Frequently asked questions
Can I wash my face after microblading?
Yes, but keep water off the brows for the period your technician advised, often around seven to ten days. Wash the rest of your face with a damp cloth or cotton pads, and keep cleansers away from the brow line. Once washing is allowed, use lukewarm water, a mild cleanser and a gentle patting motion to dry.
How long after microblading can I wear makeup on my brows?
Wait until the brows have fully healed, usually around two weeks, and follow your technician’s advice. Makeup on fresh microblading can trap bacteria and disturb the healing skin. Pencil, powder and brow gel should all wait. Makeup on the rest of your face is fine as long as it stays away from the brow area.
Can I exercise after microblading?
Avoid intense exercise for the first week, because sweat can push pigment out of the fresh strokes. Light walking is usually fine. Saunas, steam rooms and hot yoga should wait until healing is complete. If you exercise for work or sport, plan your appointment around a quieter week.
Why do my brows look darker after microblading?
The pigment looks darker at first because it sits on the surface of freshly worked skin, and the area may be slightly swollen. The colour softens as the skin heals and a new layer of skin forms over the pigment. Brows often look lighter around week two, then the colour returns as healing finishes. Judge the final colour only after the touch-up.
Can I go swimming after microblading?
No, not until the brows have fully healed. Pools, the sea and hot tubs all expose fresh skin to water, chemicals and bacteria. Wait at least two weeks, and longer if your technician advises it. A swim before healing is complete can fade the pigment and raise the risk of infection.
How long does microblading last?
Results vary with skin type, sun exposure and skincare. Many people find the brows last around one to two years, with a colour refresh every twelve to eighteen months. Oily skin and frequent sun exposure can shorten that time. The touch-up after the first session helps the result last longer. Similar care rules apply to other treatments too, and our lash lift aftercare guide explains how long a lash lift lasts and how aftercare affects it. If you are choosing between brow and lash treatments, our lash lift vs lash extensions guide compares the two lash options.
Conclusion
Microblading aftercare is simple but it needs care. Keep the brows dry and untouched for the first week, let flaking happen on its own, and protect the area from sun, sweat and makeup until the skin has healed. Expect the colour to change as healing moves through its stages, and book the touch-up four to six weeks after the first session. Follow your technician’s instructions first, ask early if anything worries you, and the result will have the best chance of healing evenly.